Documentation
Dated April 13, 2023
ProPresenter 7 uses a proprietary API server that doesn't support HTTPS protocol at this point. Therefore, our web application will need to communicate with ProPresenter's API server through a reverse proxy server as most modern web browsers do not private network access. For more information, visit here.
To configure XAMPP as your Reverse Proxy Server on Windows, follow these steps-
Download and install XAMPP here.
-
First, make sure that your XAMPP installation has the required modules enabled. Open the
httpd.conffile located in theC:\xampp\apache\confdirectory (assuming XAMPP is installed inC:\xampp). -
If they are commented out, remove the
#at the beginning of each line. -
In the same
httpd.conffile, add the following lines at the end: -
These lines enable SSL proxying and forward all requests to
/v1on your reverse proxy server tohttp://localhost:12345/v1(replace12345with the port number of your ProPresenter 7 API). -
Create a new file called
index.phpinC:\xampp\htdocsdirectory (assuming XAMPP is installed inC:\xampp) and add the following lines and save it: -
Save the changes to the
httpd.conffile and start the Apache server in XAMPP. It is important to start the Apache server in XAMPP each time you plan to use PP7REMOTE to communicate with your ProPresenter software. It is also recommended to stop the server when it is no longer required for security reasons.
Look for the following lines in the httpd.conf file and make sure they are not commented out (i.e., there should be no # at the beginning of the lines):
        LoadModule proxy_module modules/mod_proxy.so
        LoadModule proxy_http_module modules/mod_proxy_http.so
        LoadModule ssl_module modules/mod_ssl.so
        SSLProxyEngine On
        SSLProxyVerify none
        SSLProxyCheckPeerCN off
        SSLProxyCheckPeerName off
        SSLProxyCheckPeerExpire off
        ProxyPass /v1 http://localhost:12345/v1
        ProxyPassReverse /v1 http://localhost:12345/v1
<?php header("Location: https://pp7.jubilian.io/dashboard.php"); exit(); ?>
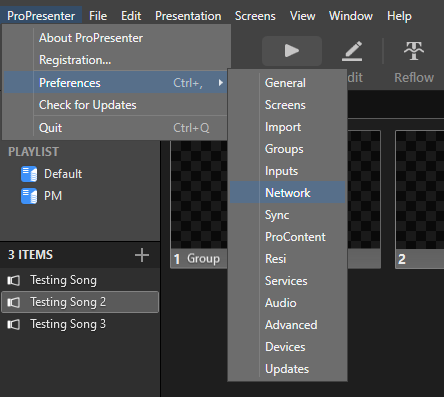
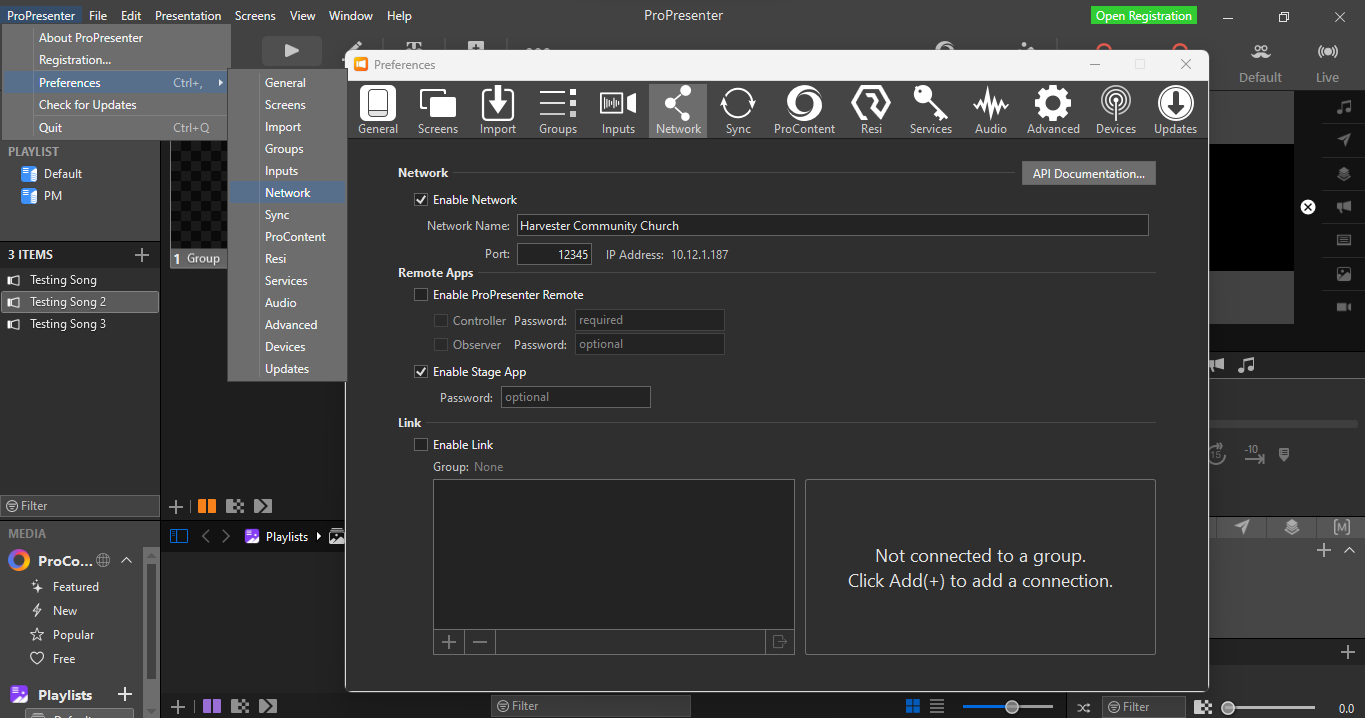
To set up PP7REMOTE, follow these steps:
-
Launch ProPresenter and navigate to Preferences, then Network.
-
Enable the "Enable Network" setting and take note of the IP address and preferred port number. It's recommended to use a less commonly used port number between 1000 and 65000.
-
To access PP7REMOTE, you can use a mobile or electronic device that is connected to the same network as your ProPresenter. Input the IP address and port number that you configured for your ProPresenter in the previous step before clicking "Submit". Your web browser may display a "Not secure" warning, but you can proceed with the connection.
-
Congratulations! If you have followed the steps correctly, you should have successfully configured PP7REMOTE to communicate with your ProPresenter. However, if you encounter any issues during the process, please don't hesitate to seek technical assistance to troubleshoot the problems you have encountered.